Introduction
Gift-giving is an art form that has been practiced for centuries. It involves more than just selecting the perfect present – it also requires skillful gift wrapping to enhance the recipient’s anticipation and delight. The ability to wrap gifts beautifully is not something that comes naturally to everyone, but with the right techniques and a little practice, anyone can become an expert gift wrapper. This comprehensive guide will unravel the enigmatic artistry of gift wrapping, revealing the cryptic techniques that will mesmerize both the gifter and the recipient.
Chapter 1: The Importance of Gift Wrapping
Gift wrapping serves multiple purposes beyond aesthetics. It builds anticipation, adds a personal touch, and makes the gift feel more special. Here are some key reasons why gift wrapping is important:
- Building anticipation: Wrapping a gift creates an air of mystery, heightening the recipient’s excitement and anticipation.
- Expressing thoughtfulness: The effort put into gift wrapping shows the recipient that the giver cares and has taken the time to make the gift presentation memorable.
- Creating a sense of occasion: A beautifully wrapped gift can transform an ordinary moment into a special occasion, making the recipient feel valued and celebrated.
- Enhancing the surprise factor: Gift wrapping conceals the gift, adding an element of surprise and making the moment of unwrapping even more enjoyable.
Now that we understand the importance of gift wrapping, let’s delve into the secrets that will help you master this timeless art.
Chapter 2: Essential Materials for Gift Wrapping
Before we dive into the techniques, it’s important to gather the necessary materials. Here are the essential items you’ll need:
- Wrapping paper: Choose a high-quality wrapping paper that suits the occasion and the recipient’s preferences.
- Scissors: Invest in a sharp pair of scissors that will make precise cuts and give clean edges.
- Tape: Use double-sided tape for a seamless finish or opt for decorative washi tape for added flair.
- Ribbon and bows: Select ribbon and bows that complement the wrapping paper and add an extra touch of elegance.
- Gift tags: Personalize your gift with a beautiful gift tag that includes a heartfelt message.
- Decorative elements: Embellish your gift with stickers, stamps, or other decorative elements that suit the occasion.
Now that you’re equipped with the necessary materials, let’s move on to the techniques that will take your gift wrapping skills to the next level.
Chapter 3: Techniques for Perfect Gift Wrapping
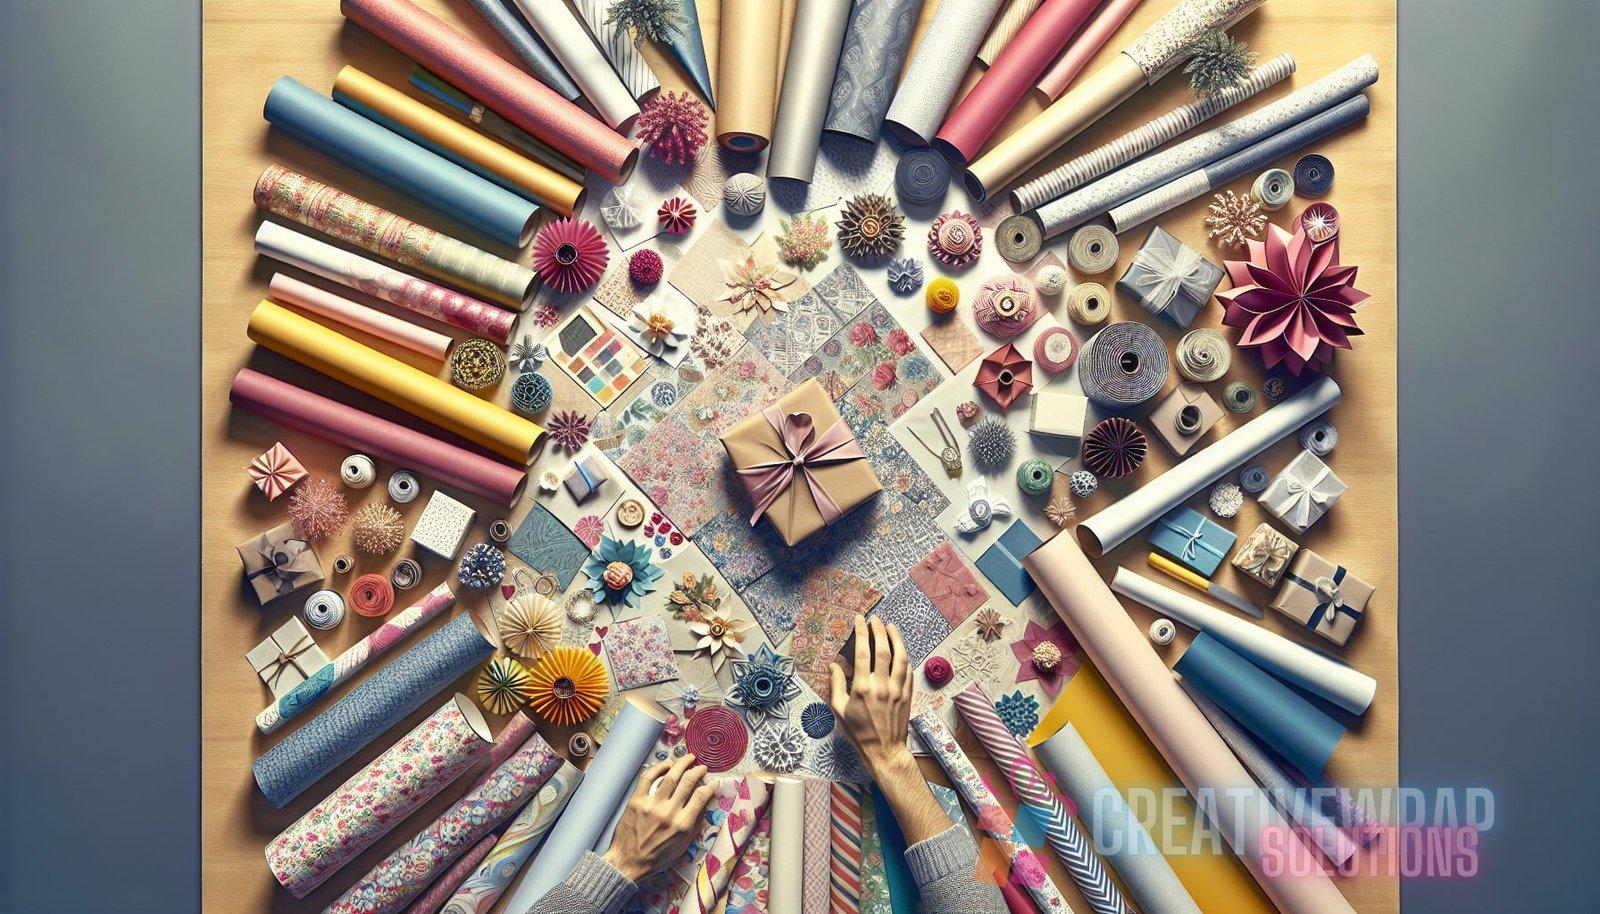
1. Choosing the Right Wrapping Paper
The first step to a perfectly wrapped gift is selecting the right wrapping paper. Consider the occasion, the recipient’s preferences, and the overall theme. Here are some tips:
- Choose wrapping paper with a suitable thickness to ensure it doesn’t tear easily.
- Consider the recipient’s tastes and choose a design or color that aligns with their preferences.
- If the gift is for a formal occasion, opt for classic and elegant patterns such as stripes or solids.
- For a playful or festive occasion, consider using bright colors and patterns like polka dots or holiday-themed designs.
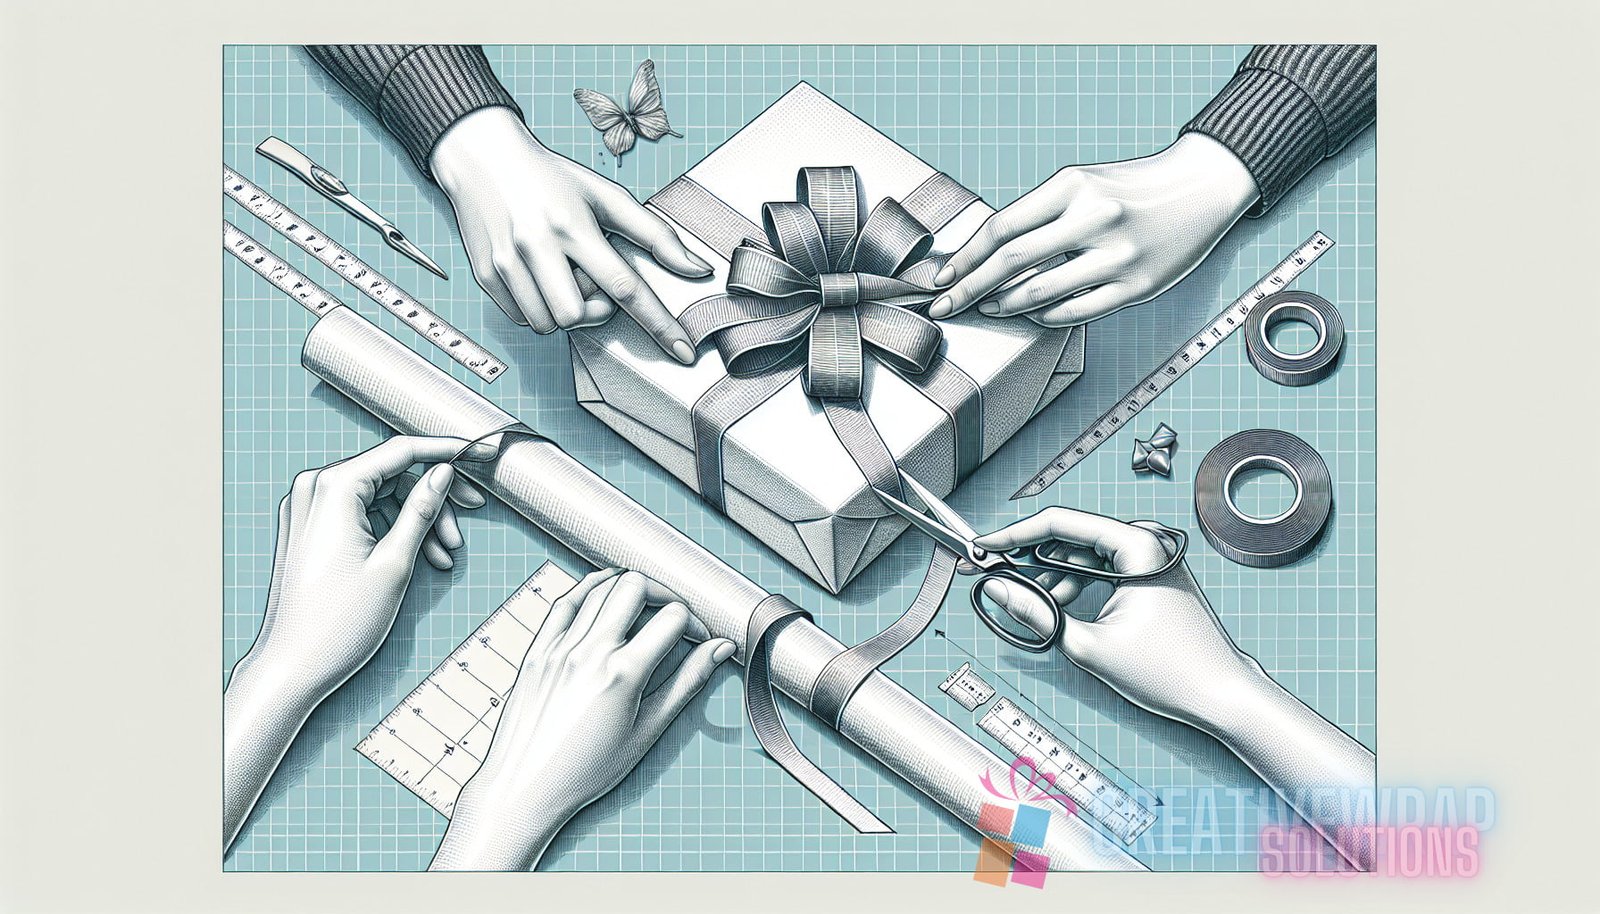
2. Measuring and Cutting the Wrapping Paper
Proper measurement and accurate cutting of the wrapping paper are crucial in achieving a neat and professional-looking result. Follow these steps:
- Measure the length and width of the gift, leaving enough excess paper on each side to ensure full coverage.
- Mark the measurements on the backside of the wrapping paper using a pencil.
- Carefully cut along the marked lines using sharp scissors.
3. Wrapping the Gift
Now that you have your measured and cut wrapping paper, it’s time to wrap the gift with precision and finesse:
- Place the gift in the center of the wrapping paper.
- Bring one side of the paper over the gift and secure it in place with small pieces of tape.
- Repeat the previous step with the opposite side, ensuring the paper is taut but not too tight.
- Repeat the process with the remaining sides, sealing them neatly with tape.
- For an extra-smooth finish, fold the edges of the wrapping paper inward and secure with double-sided tape.
For a more detailed guide on innovating gift wrapping techniques, refer to the article available at Creative Wrap Solutions.
4. Adding Ribbons and Bows
Ribbons and bows are the cherry on top of a beautifully wrapped gift. Here’s how to add them:
- Choose a ribbon that complements the wrapping paper.
- Measure and cut the ribbon, leaving enough length to wrap around the gift and tie a bow.
- Wrap the ribbon around the gift, crossing it over the top and bottom to create a crisscross pattern.
- Tie a tight bow, making sure it is centered and symmetrical.
- If desired, you can attach a bow or other decorative elements to the center of the ribbon for an extra touch of elegance.
5. Personalizing with Gift Tags
A thoughtful message on a gift tag adds a personal touch to your wrapped gift. Here’s how to attach a gift tag:
- Select a gift tag that matches the theme and style of the wrapping paper.
- Write a heartfelt message on the tag, addressing it to the recipient.
- Attach the gift tag to the gift using a decorative ribbon, twine, or adhesive.
For a step-by-step tutorial on creating stunning DIY gift bags, check out the article available at Creative Wrap Solutions.
Chapter 4: Extra Gift Wrapping Tips and Tricks
Now that you have mastered the basic gift wrapping techniques, let’s explore some additional tips and tricks to take your skills to the next level:
- Use tissue paper: To add an extra layer of elegance and protect delicate items, place tissue paper on top of the gift before wrapping it with wrapping paper.
- Experiment with textures: Incorporate textured materials such as fabric, lace, or burlap to add a unique and tactile element to your gift wrapping.
- Try alternative wrapping styles: Explore different wrapping techniques, such as origami-style folds or the Japanese art of furoshiki, to create a truly memorable gift presentation.
- Embellish with natural elements: Add a touch of nature to your gift wrapping by incorporating fresh flowers, pinecones, or sprigs of greenery.
- Consider eco-friendly alternatives: Use recyclable or reusable materials like fabric gift bags or Furoshiki cloth to reduce waste and create unique gift presentations.
Conclusion
Gift wrapping is an art form that enhances the gifting experience and showcases the care and thoughtfulness of the giver. With the techniques and tips provided in this guide, you now possess the secrets to mesmerizing gift wrapping.
Remember to choose the right wrapping paper, cut and measure accurately, and add personal touches with ribbons, bows, and gift tags. Feel free to explore alternative wrapping styles and experiment with textures or natural elements to create unique and unforgettable gift presentations.
Now go forth, armed with your newfound gift wrapping knowledge, and delight your friends and loved ones with beautifully wrapped and wonderfully presented gifts.