
Step-by-Step Guide to Wrapping Oddly Shaped Gifts
Wrapping presents can be a fun and satisfying task, but it can also be a challenge when you’re faced with oddly shaped gifts. Whether it’s a round object, a multi-sided box, or something with irregular edges, wrapping these gifts requires some extra thought and creativity. In this step-by-step guide, we’ll walk you through the process of wrapping oddly-shaped gifts so you can impress your friends and family with beautifully wrapped presents.
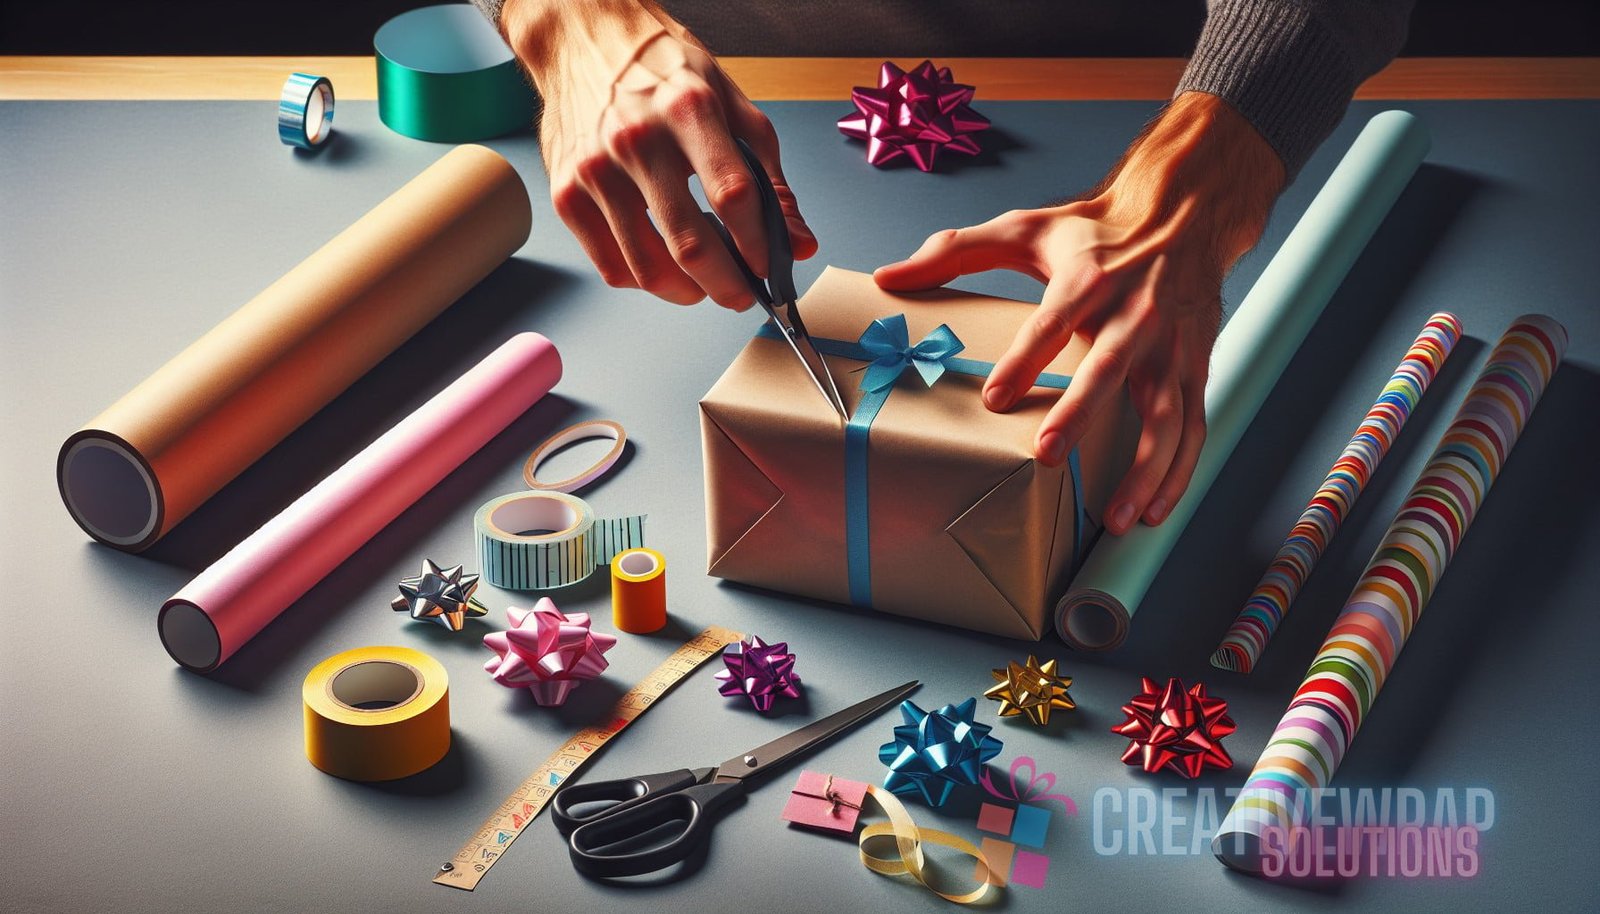
Materials You’ll Need
Before you start wrapping your odd-shaped gifts, make sure you have the following materials on hand:
- Wrapping paper
- Tape
- Scissors
- Ribbon or bows
- Gift tags
Step 1: Measure and Cut the Wrapping Paper
The first step in wrapping any gift is to measure and cut the appropriate amount of wrapping paper. The easiest way to do this is to place your gift on the wrapping paper and estimate how much you’ll need, making sure to leave some excess for folding and tucking. Cut the paper using scissors, making sure to create a clean, straight edge.
Pro tip: If your gift is irregularly shaped, you can use a ruler to measure the length and width of the gift and then transfer those measurements to the wrapping paper.
Step 2: Fold and Secure the Wrapping Paper
Once you have the correct amount of wrapping paper, place your gift in the center and bring the paper up and over the gift, making sure all sides are covered. Secure the paper with tape, starting with the longer sides first and then moving on to the shorter sides.
To create a neat and professional finish, fold the edges of the wrapping paper inwards. This will give your gift a clean edge and prevent any loose ends from showing. Use small pieces of tape to secure the folded edges in place.
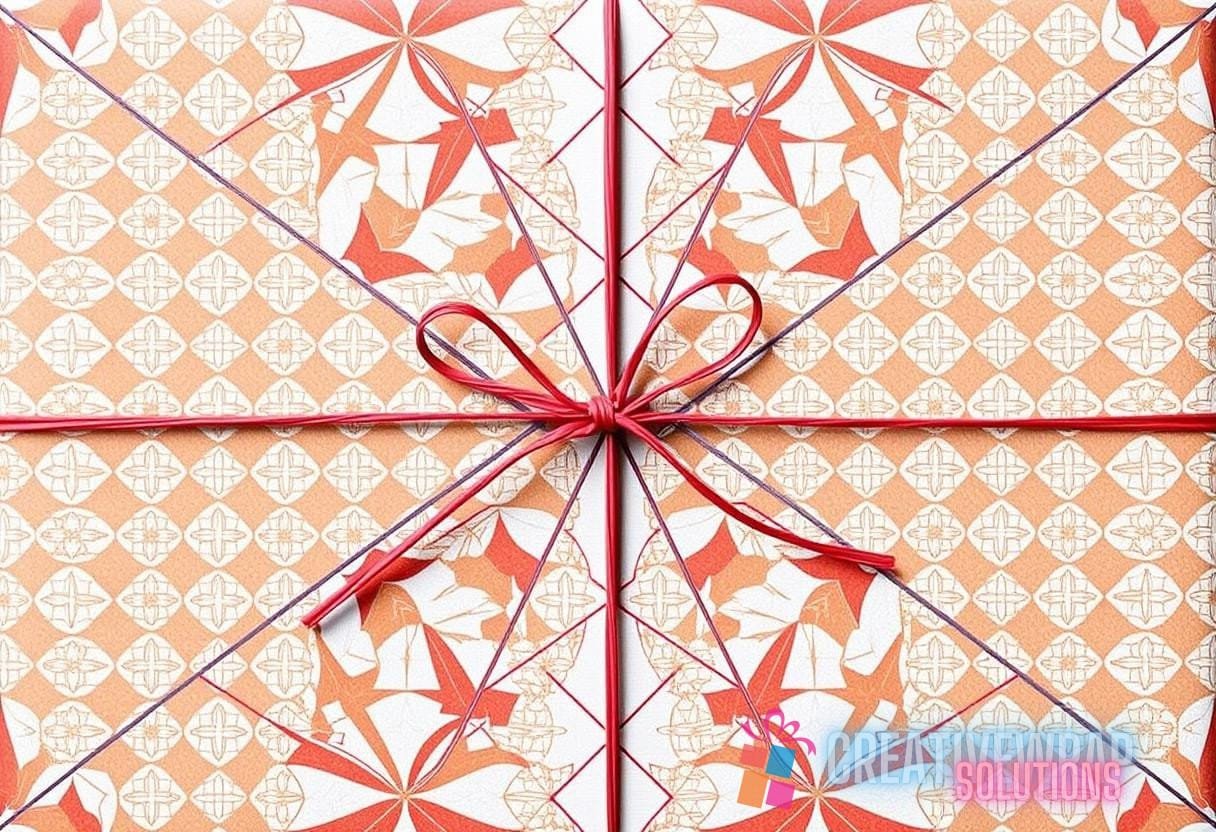
Step 3: Add Ribbon or Bows
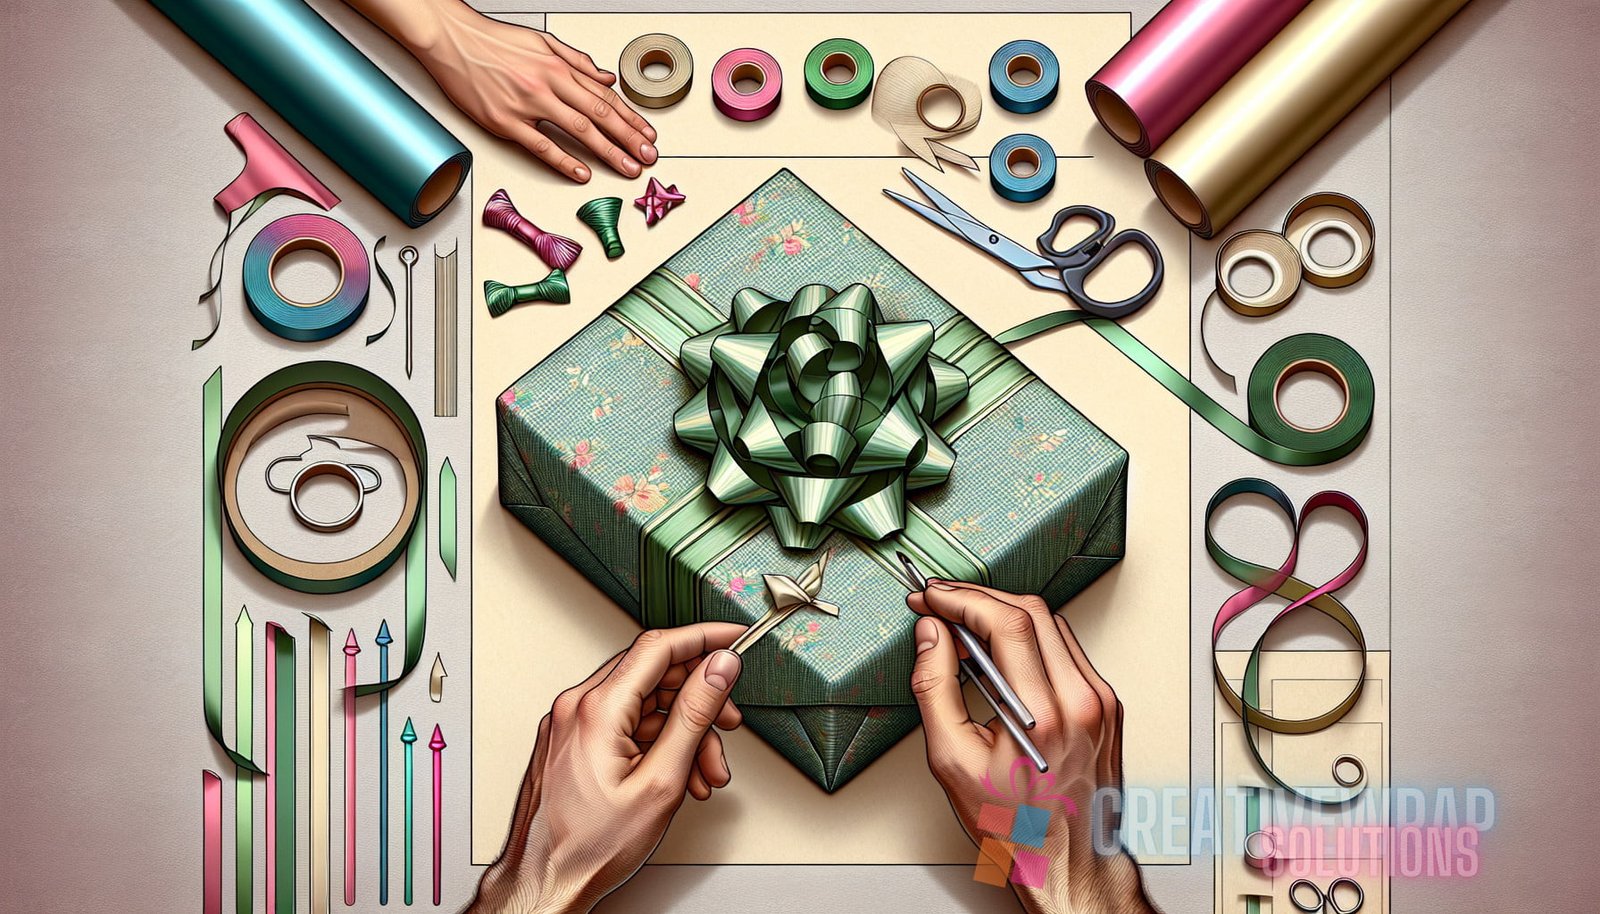
Now that your gift is wrapped, it’s time to add some decorative touches. Choose a ribbon or bow that complements your wrapping paper and wrap it around the gift, securing it with a knot or a small piece of tape. You can also get creative by using multiple ribbons or layering different colors and textures.
If your gift has an irregular shape, you can use the ribbon to create a crisscross pattern that not only adds visual interest but also helps to secure any loose flaps or edges.
Step 4: Attach a Gift Tag
No wrapped gift is complete without a gift tag. Attach a gift tag to your package, either by tying it to the ribbon or by taping it directly onto the wrapping paper. Make sure to write a thoughtful message on the tag to personalize the gift.
Step 5: Final Checks and Finishing Touches
Before you present your wrapped gift, take a moment to do some final checks and add any finishing touches. Make sure all the tape is securely fastened and any loose edges or corners are tucked in. Adjust the ribbon and bow if needed to ensure they are centered and symmetrical.
Once you’re satisfied with the presentation of your gift, place it under the tree or hand it over to the lucky recipient with a smile.
Conclusion
Wrapping oddly-shaped gifts doesn’t have to be a daunting task. With the right materials and a little creativity, you can wrap any gift beautifully. By following this step-by-step guide, you’ll be able to impress your friends and family with perfectly wrapped presents, no matter the shape or size.