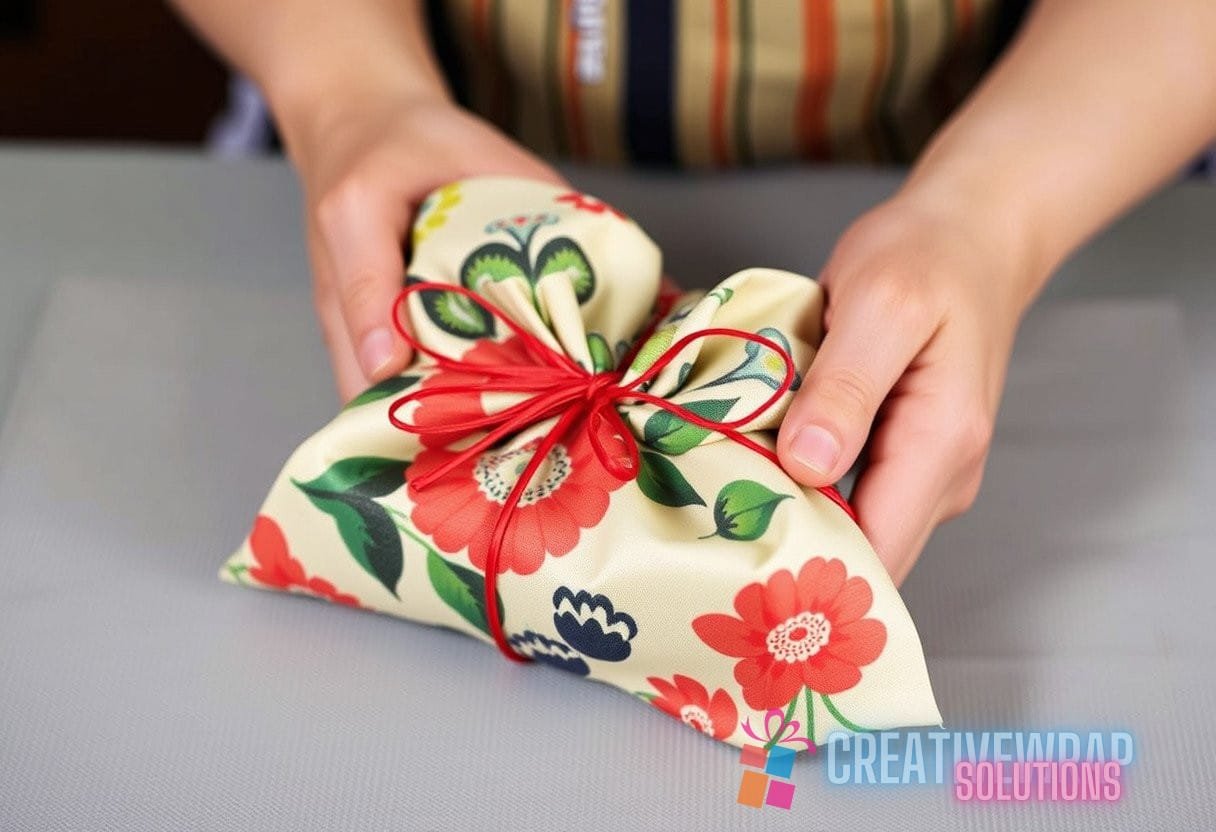
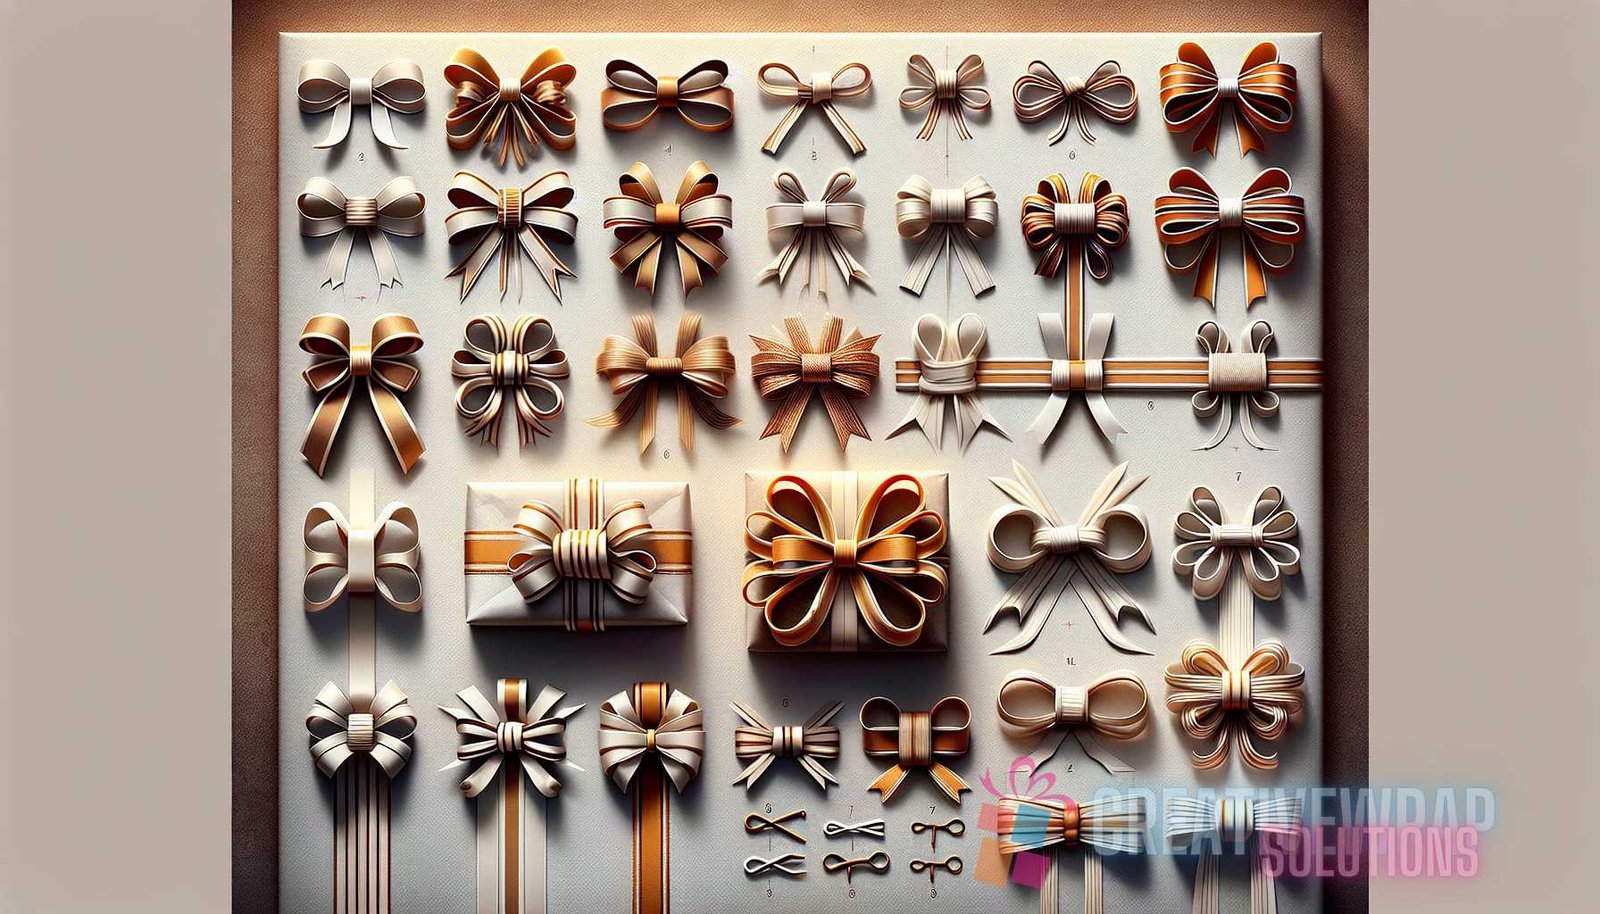
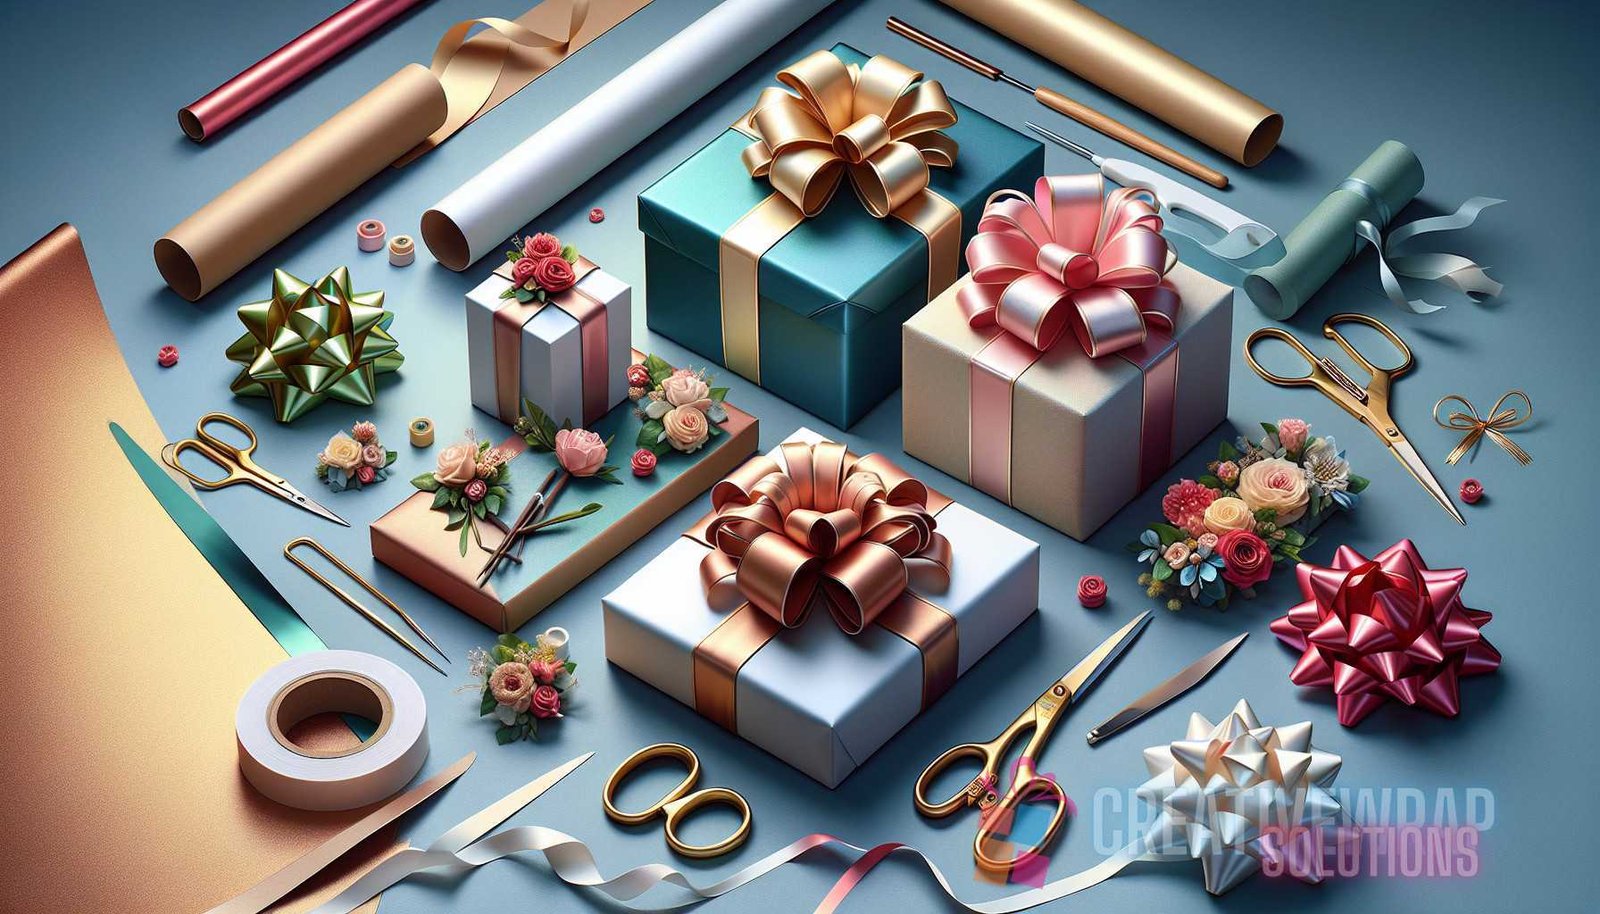
Innovative Bow-Tying Techniques for Stunning Gift Wraps
Gift-giving is a timeless tradition that brings joy to both the giver and the recipient. One way to make your gifts even more special is through innovative bow-tying techniques. Gone are the days of simple loops and knots; today, there are countless creative ways to tie a bow that will elevate your gift wrap to a whole new level. In this article, we will explore some of the most stunning bow-tying techniques, providing step-by-step instructions and tips to help you master the art of gift wrapping. Whether you are a beginner or a seasoned gift wrapper, these techniques will inspire you to create beautiful and unique bows that will make your gifts truly stand out.
1. Classic Bow
The classic bow is a timeless choice that never goes out of style. It is simple yet elegant and can be used for any occasion. To create a classic bow, follow these steps:
- Wrap the ribbon around the gift box, crossing it over the top.
- Bring the ends of the ribbon to the front and tie a tight knot in the center.
- Make a loop with one end of the ribbon and bring it over the center knot.
- Do the same with the other end of the ribbon, crossing it over the loop you just made.
- Tie the two loops together in a tight knot.
- Adjust the loops and tails of the bow to make them even and fluff them up for a fuller look.
2. Butterfly Bow
If you want to add a touch of whimsy to your gift wrap, the butterfly bow is the perfect choice. It resembles a butterfly with its delicate wings and can be made using ribbon or paper. Here’s how to create a butterfly bow:
- Start by forming two loops with your ribbon, one larger than the other.
- Place the larger loop on top of the smaller one, making sure the ends of the loops are aligned.
- Pinch the loops together in the center to create the body of the butterfly.
- Secure the loops with a small piece of wire or a twist tie.
- Fluff up the loops and adjust them to create the desired shape.
- Add a small piece of ribbon or paper as the antenna of the butterfly.
The butterfly bow is perfect for birthdays, baby showers, or any occasion where you want to add a playful touch to your gift wrap.
3. Pom Pom Bow
If you’re looking for a bow that’s full of texture and volume, the pom pom bow is a fantastic choice. It adds a fun and whimsical element to your gift wrap. To create a pom pom bow, follow these steps:
- Start by wrapping the ribbon around your hand several times, creating several loops.
- Slide the loops off your hand and secure them in the center with a piece of wire or string.
- Fluff up the loops to create the pom pom shape.
- Trim the ends of the loops to create a neat and even appearance.
- Attach the pom pom bow to your gift wrap using adhesive or by tying it with a piece of ribbon.
The pom pom bow adds a touch of whimsy and playfulness to any gift wrap, making it perfect for birthdays, holidays, or special occasions.
4. Layered Bow
The layered bow is an impressive and sophisticated choice that will make your gift wrap look like a work of art. It involves creating multiple layers of bows in different sizes and colors. Here’s how to create a layered bow:
- Start by creating a small bow using a narrow ribbon. Tie it in the center and fluff up the loops.
- Create a larger bow using a wider ribbon. Tie it in the center and fluff up the loops.
- Stack the smaller bow on top of the larger bow, aligning the centers.
- Secure the two bows together with a small piece of wire or string.
- Repeat this process with additional layers of bows, alternating the size and color.
- Fluff up the loops of each layer to create a full and voluminous bow.
The layered bow adds depth and visual interest to your gift wrap, making it a standout piece.
5. Fan Bow
The fan bow is an elegant and stylish choice that resembles a fan with its perfectly arranged loops. It creates a sophisticated and luxurious look for your gift wrap. To create a fan bow, follow these steps:
- Start by cutting a long piece of ribbon, about twice the length of the desired bow size.
- Fold the ribbon accordion-style, with each fold about the same width as the desired loop size.
- Secure the folded ribbon in the center with a small piece of wire or string.
- Fluff up the loops by gently pulling them apart, creating a fan-like shape.
- Trim the ends of the ribbon into a V-shape or any desired shape.
- Attach the fan bow to your gift wrap using adhesive or by tying it with a piece of ribbon.
The fan bow adds an element of luxury and sophistication to any gift wrap, making it perfect for weddings, anniversaries, or other special occasions.
Conclusion
With these innovative bow-tying techniques, you can take your gift wrap to the next level. From classic bows to whimsical butterfly bows, pom pom bows, layered bows, and elegant fan bows, there is a technique for every occasion and style. Experiment with different ribbons, colors, and textures to create unique and stunning gift wraps that will impress your loved ones. Remember to have fun and let your creativity shine through. Happy bow-tying!