
Diy Gift Wrap Tutorial: Crafting Unique Gift Bags from Scratch
Welcome to our comprehensive guide on crafting unique gift bags from scratch! If you’re tired of using store-bought gift bags and want to add a personal touch to your presents, this tutorial is for you. In this guide, we’ll take you step by step through the process of creating beautiful and customized gift bags that are sure to impress your friends and family. So let’s get started!
Table of Contents
- Materials You’ll Need
- Step 1: Choosing the Right Materials
- Step 2: Measuring and Cutting
- Step 3: Folding and Assembling
- Step 4: Adding Decorative Elements
- Step 5: Finishing Touches
- Tips and Tricks
Materials You’ll Need
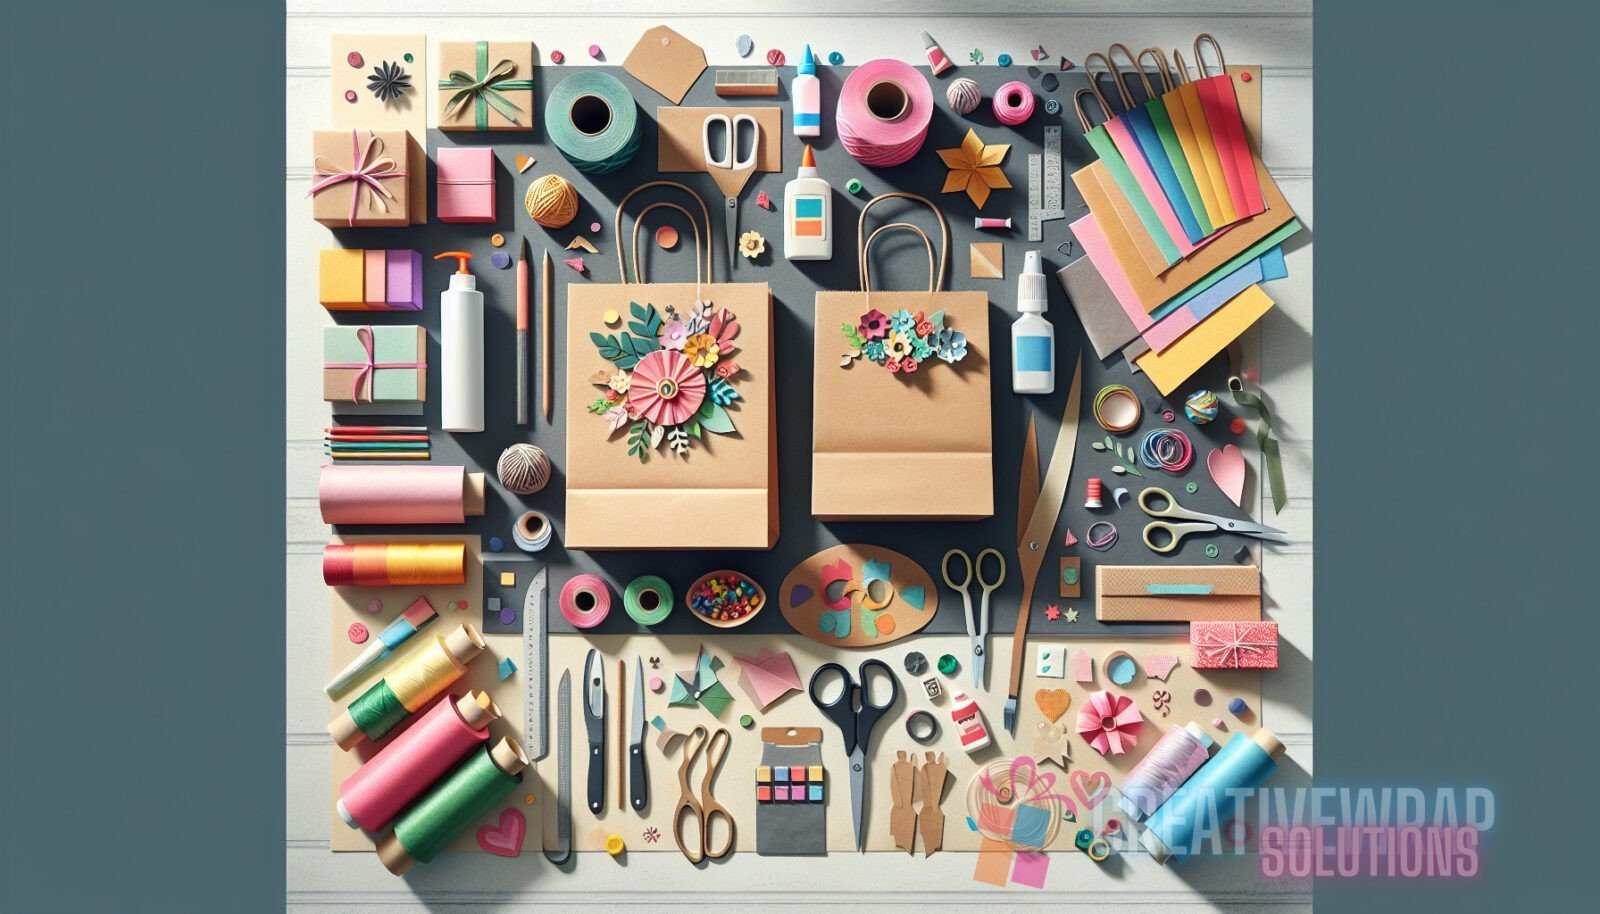
Before you start crafting your gift bags, it’s important to gather all the necessary materials. Here’s a list of everything you’ll need:
- Kraft paper or any heavyweight wrapping paper
- Scissors or craft knife
- Ruler
- Double-sided tape or glue
- Hole puncher (optional)
- Ribbons, twine, or other decorative elements
- Markers or stamps for personalization
Step 1: Choosing the Right Materials
The first step in creating your DIY gift bags is selecting the right materials. Kraft paper or heavyweight wrapping paper is ideal for this project, as it offers durability and can hold the weight of the gift. You can choose plain paper or opt for patterned or colored paper to add a unique touch.
Consider the size of the gift you’ll be wrapping and choose a paper that is large enough to accommodate it. It’s better to have extra paper that can be trimmed down than not enough to cover the gift completely.
Once you’ve chosen your paper, gather all the other materials you’ll need, including scissors or a craft knife, a ruler, double-sided tape or glue, a hole puncher (optional), ribbons or twine for decoration, and markers or stamps for personalization.
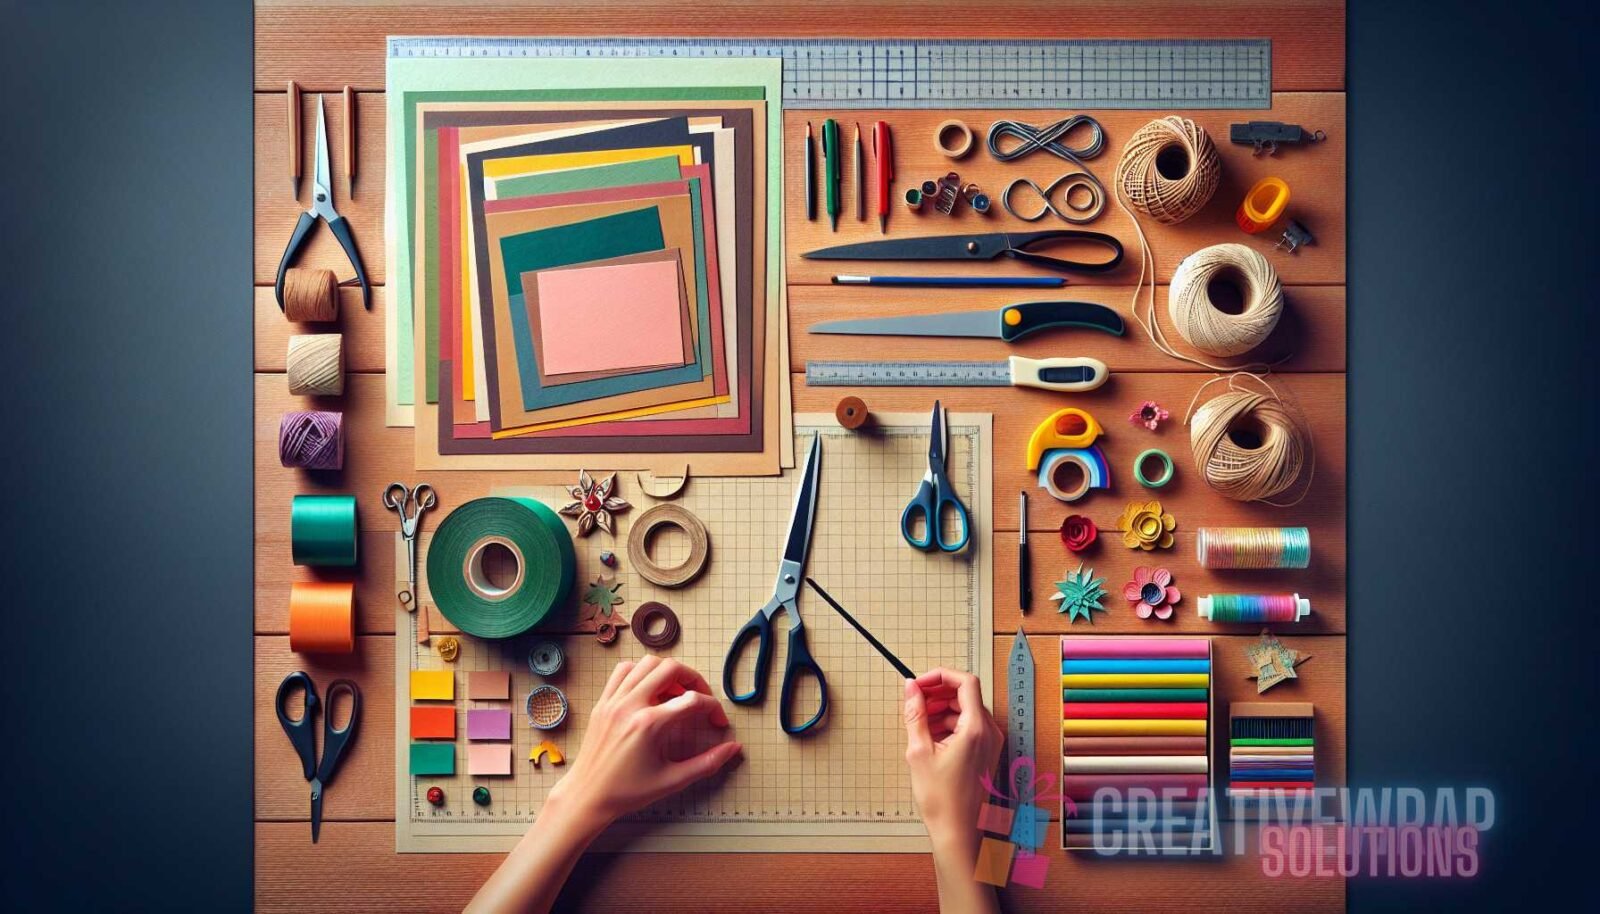
Step 2: Measuring and Cutting
Now that you have your materials ready, it’s time to measure and cut the paper to create the base of your gift bag. Here’s how:
- Place the gift you’ll be wrapping on the paper to determine the appropriate size. Make sure the paper extends past the top and sides of the gift to allow room for folding and sealing.
- Using a ruler, measure and mark the desired width and height of the bag on the paper. If you’re using patterned or colored paper, make sure the pattern is facing down.
- Carefully cut along the marked lines using scissors or a craft knife. Make sure to cut straight and avoid jagged edges.
Repeat this process for the second piece of paper, which will form the front and back of the gift bag.
Pro tip: If you’re planning to make multiple gift bags, create a template from cardboard or a sturdy material to ensure consistent sizing.
Step 3: Folding and Assembling
With the pieces of paper cut to size, it’s time to fold and assemble the gift bag. Follow these steps:
- Place one piece of paper on a flat surface with the pattern or color facing up.
- Take the bottom edge of the paper and fold it up towards the center, leaving a small gap between the fold and the edge.
- Using double-sided tape or glue, secure the folded edge in place.
- Take the sides of the paper and fold them towards the center, overlapping the edges slightly. Use the ruler to ensure straight and even folds.
- Secure the overlapped edges with tape or glue.
- Repeat these steps with the second piece of paper to create the front and back of the gift bag.
- Finally, fold the bottom of the bag by bringing the bottom edge up towards the center, creating a fold. Secure it with tape or glue.
Your gift bag is now taking shape!
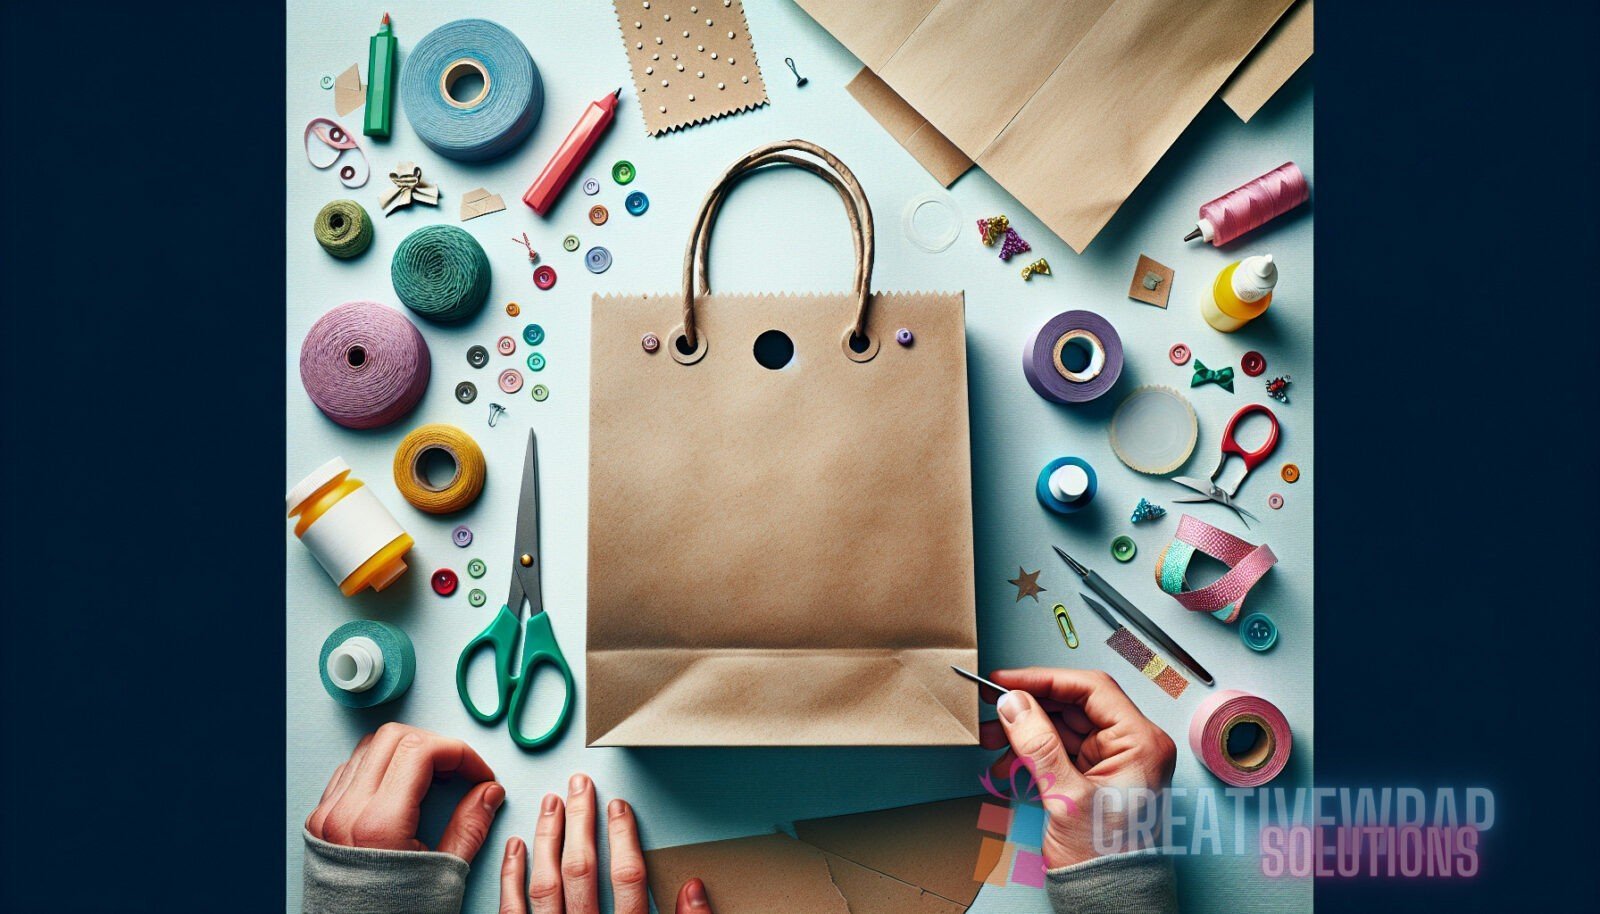
Step 4: Adding Decorative Elements
Now that your gift bag is assembled, it’s time to add some decorative elements. This is where you can get creative and personalize your gift bag. Here are a few ideas:
- Punch a hole on each side at the top of the bag and thread a ribbon or twine through the holes to create handles. Tie the ends of the ribbon or twine in a knot or a bow for added visual appeal. You can use a hole puncher or a craft knife to make the holes.
- Add stickers, stamps, or hand-drawn designs to the paper to give it a customized look. Write a personal message, the recipient’s name, or draw images that are meaningful to the person receiving the gift.
- If you’re feeling adventurous, try using different types of fabric or textured paper to create unique patterns and designs on the gift bag. Experiment with different materials and textures to find what works best for your style.
Step 5: Finishing Touches
With the decorative elements added, it’s time to put the finishing touches on your DIY gift bag. Here are a few additional steps you can take:
- Reinforce the seams and edges of the bag with extra tape or glue to ensure it holds up well, especially if the gift is heavy.
- If you want to add a bit of extra security, fold the top of the bag over and secure it with a sticker or piece of tape.
- If you’re using a patterned or colored paper, make sure to align the patterns or colors on the front and back of the bag for a polished look.
Now your DIY gift bag is complete and ready to be filled with a thoughtful present!
Tips and Tricks
Here are a few tips and tricks to keep in mind as you create your DIY gift bags:
- If you’re working with large gifts, consider using multiple sheets of paper to create a larger bag. Simply tape or glue the edges of the paper together to create a larger surface area.
- For odd-shaped gifts, check out our step-by-step guide on odd-shaped gift wrapping, where we provide detailed instructions on how to wrap gifts of different shapes and sizes.
- Experiment with different papers, colors, and patterns to create a variety of gift bags that can be used for different occasions.
- Consider adding tissue paper or crinkle-cut fillers inside the bag to add an extra layer of elegance and protection for the gift.
We hope this DIY gift bag tutorial has inspired you to get creative and add a personal touch to your gift-giving. With just a few simple materials and some imagination, you can create beautiful and unique gift bags that will make your presents even more special. Have fun crafting!